Back to Asset Essentials Main Menu
Customizing the dashboard
Watch the video tutorial:

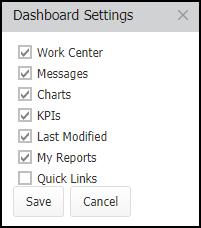
You can control which elements will show on your dashboard as well as the position of those elements.
- Click the gear icon (
 ) at the top right of the page.
 - Check the box next to the elements you would like to appear on your Dashboard.
- Click Save.
- To control the position of the elements click the Edit Layout arrow icon (
 ) in the upper right corner.
 - Click and drag the elements into your preferred arrangement. When finished:
- Click the reset icon (
 ) to revert back to the default arrangement.
 - Click the save icon (
 ) to save your changes
 - Click the cancel icon (
 ) to dismiss your changes.
- Click the reset icon (
Dashboard elements
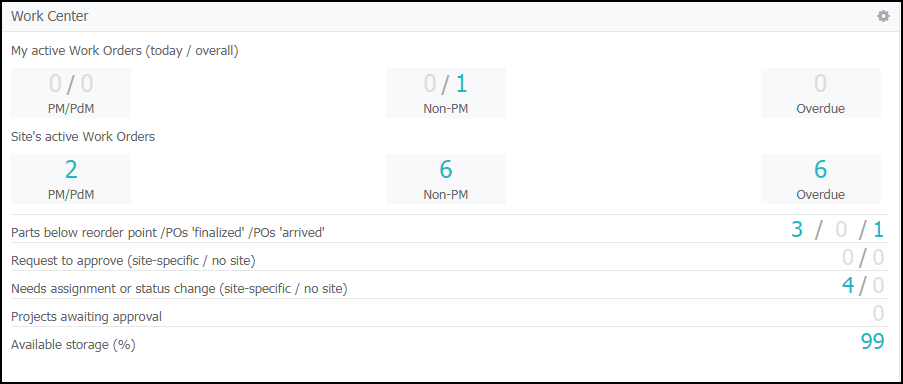
Work Center
In the Work Center section, you will see a summary of your open work orders as well as your Site's open work orders. These are further classified as PM work orders, Non-PM work orders, and Overdue work orders. Click on any of the numbers in this section to view a summary of those work orders. This is a great way to quickly see which work orders are due or overdue.
- Click the gear icon in the top right corner of the Work Center element to customize what is displayed here, including the option to only include work orders for your assigned site.
- Check the boxes next to the items you would like displayed and click Save.
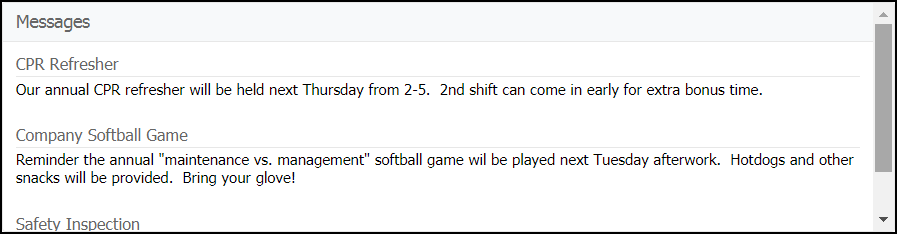
Messages
The Messages element can display any message for your Asset Essentials users. The messages can have specific titles, content text, start and expiration dates, and can even be displayed only to users in specific Regions, Sites, or Departments. When the expiration date passes, the expired message will be removed from the Dashboard. This is a great way to keep users notified of important events.
- To access messages click on the Admin tab then select Configurations.
- From the Misc group at the bottom of the page, select Messages.
- To create a new message click on the New button.
- Choose whether you would like the message to display to a particular Region, Site, or Department.
- Give your message a Title.
- If the message is temporary enter a Start Date and End Date.
- Write the Content of your message and click Save at the top of the page.
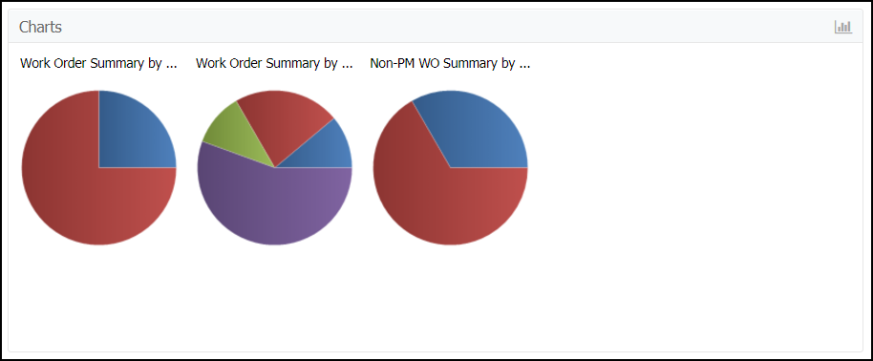
Charts
The Charts element will display any charts you have selected in My Charts under the user menu.
- To add a chart to the Charts element, click on your name in the top right corner and select My Charts.
- Click on the New button.
- Click on the wrench icon (
 ) and click the plus sign icon next to the desired chart from the menu that appears.
 - Check Include in Dashboard to display the chart in the Chart element on your Dashboard.
- Click Save.
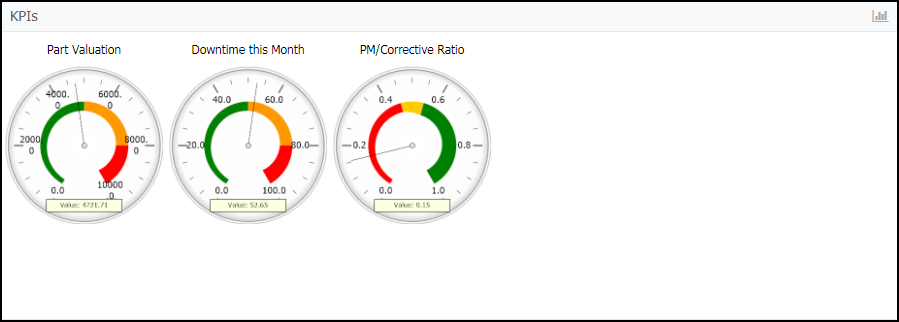
KPIs
The KPIs element will display any KPIs you have selected in My KPIs under the user menu.
- To add a KPI to the KPIs element, click on your name in the top right corner and select My KPIs.
- Click on the New button.
- Click on the wrench icon (
 ) and click the plus sign icon next to the desired KPI from the menu that appears.
 - Check Include in Dashboard to display the KPI in the KPIs element on your Dashboard.
- Click Save.
My Reports
The My Reports element will display any reports you have saved to the My Reports list in the user menu.
- To save a report to the My Reports element, run the desired report and click the star icon (
 ) on the report page.
 - To delete a saved report, click on your name in the top right corner and select My Reports.
- Check the box next to the report name you wish to delete, and click the Delete button.

Last Modified
The Last Modified element will show any changes made to Work Orders, Assets, Parts, and POs.
- Click the gear icon in the upper right corner of the element to customize what is displayed here.
- Check the boxes next to the items you would like displayed.
- Choose the # of Items to Display Per Type then click Save.

Quick Links
The Quick Links element provides you with shortcuts to common actions in Asset Essentials.
- Click the gear icon in the upper right corner of the element to customize which links appear here.
- Check the boxes next to the links you would like displayed.
- Click Save.

